Building example designs
Before building any example, set the installation directory to match what you set it to earlier, for example:
export INSTALL_DIR=~/opt/symbiflow
Select your fpga family:
FPGA_FAM="xc7"
FPGA_FAM="eos-s3"
Next, prepare the enviroment:
export PATH="$INSTALL_DIR/$FPGA_FAM/install/bin:$PATH";
source "$INSTALL_DIR/$FPGA_FAM/conda/etc/profile.d/conda.sh"
Finally, enter your working Conda enviroment:
conda activate $FPGA_FAM
Note
If you don’t know how to upload any of the following examples onto your development board, please refer to the Running examples section.
Xilinx 7-Series
Enter the directory that contains examples for Xilinx 7-Series FPGAs:
cd xc7
Counter test
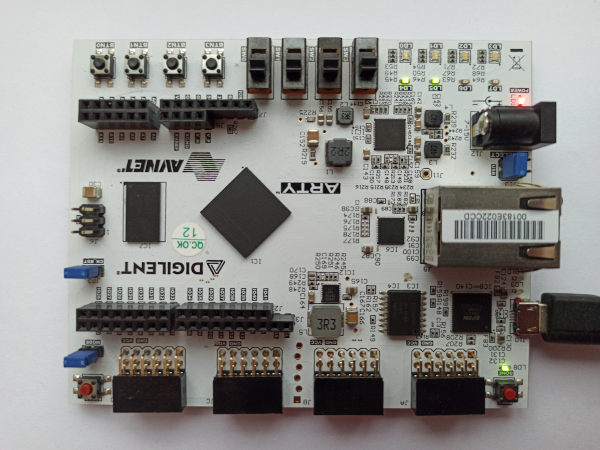
This example design features a simple 4-bit counter driving LEDs. To build the counter example, depending on your hardware, run:
TARGET="arty_35" make -C counter_test
TARGET="arty_100" make -C counter_test
TARGET="basys3" make -C counter_test
Now you can upload the design with:
openocd -f ${INSTALL_DIR}/conda/share/openocd/scripts/board/digilent_arty.cfg -c "init; pld load 0 top.bit; exit"
The result should be as follows:
PicoSoC demo
This example features a picorv32 soft CPU and a SoC based on it. To build the picosoc example, run the following commands:
TARGET="basys3" make -C picosoc_demo
Now you can upload the design with:
openocd -f ${INSTALL_DIR}/conda/share/openocd/scripts/board/digilent_arty.cfg -c "init; pld load 0 top.bit; exit"
You should observe the following line in the OpenOCD output:
Info : JTAG tap: xc7.tap tap/device found: 0x0362d093 (mfg: 0x049 (Xilinx), part: 0x362d, ver: 0x0)
The UART output should look as follows:
Terminal ready
Press ENTER to continue..
Press ENTER to continue..
Press ENTER to continue..
Press ENTER to continue..

 ____  _          ____         ____
|  _ \(_) ___ ___/ ___|  ___  / ___|
| |_) | |/ __/ _ \___ \ / _ \| |
|  __/| | (_| (_) |__) | (_) | |___
|_|   |_|\___\___/____/ \___/ \____|


[9] Run simplistic benchmark

Command>
Note
PicoSoC uses baud rate of 460800 by default.
The board’s LED should blink at a regular rate from left to the right
Linux LiteX demo
This example design features a Linix-capable SoC based around VexRiscv soft CPU. It also includes DDR and Ethernet controllers. To build the litex example, run the following commands:
wget https://raw.githubusercontent.com/enjoy-digital/litex/master/litex_setup.py;
chmod +x litex_setup.py;
./litex_setup.py init;
./litex_setup.py install;
wget https://static.dev.sifive.com/dev-tools/riscv64-unknown-elf-gcc-8.1.0-2019.01.0-x86_64-linux-ubuntu14.tar.gz;
tar -xf riscv64-unknown-elf-gcc-8.1.0-2019.01.0-x86_64-linux-ubuntu14.tar.gz;
export PATH=$PATH:$PWD/riscv64-unknown-elf-gcc-8.1.0-2019.01.0-x86_64-linux-ubuntu14/bin/;
pushd litex/litex/boards/targets && ./arty.py --toolchain symbiflow --cpu-type vexriscv --build && popd
To build the linux-litex-demo example, depending on your hardware, run:
TARGET="arty_35" make -C linux_litex_demo
TARGET="arty_100" make -C linux_litex_demo
Now you can upload the design with:
openocd -f ${INSTALL_DIR}/conda/share/openocd/scripts/board/digilent_arty.cfg -c "init; pld load 0 top.bit; exit"
Note
LiteX on Linux demo excepts you to use IPv4 address of 192.168.100.100/24
on your network interface.
You should observe the following line in the OpenOCD output
Info : JTAG tap: xc7.tap tap/device found: 0x0362d093 (mfg: 0x049 (Xilinx), part: 0x362d, ver: 0x0)
In the picocom terminal, you should observe the following output:

Additionally, two LED’s on the board should be turned on
QuickLogic EOS S3
Enter the directory that contains examples for QuickLogic EOS S3:
cd eos-s3
Button counter
This example design features a simple 4-bit counter driving LEDs. To build the counter example, run the following command:
make -C btn_counter